CompactDry™ vs Petrifilm™: A Comparison of Enumeration Procedures

Today, we delve into a detailed workflow comparison of two ready-to-use dehydrated culture media systems: CompactDry™ and Petrifilm™. We'll explore their respective workflows, highlighting their efficiency, accuracy, and suitability for various applications. Join us as we uncover the differences and similarities between these two popular culture media solutions.
Step 1
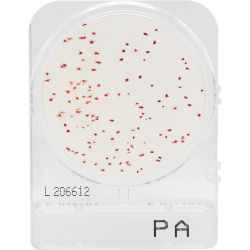
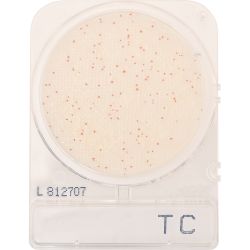
Remove the protective cap from the CompactDry™ plate. CompactDry™ plates do not require refrigeration, and are ready to use immediately.
Then, label each plate with a dilution factor ranging from 10-1 to 10-8.
Step 2
Once our dilutions are prepared, we are ready to plate.
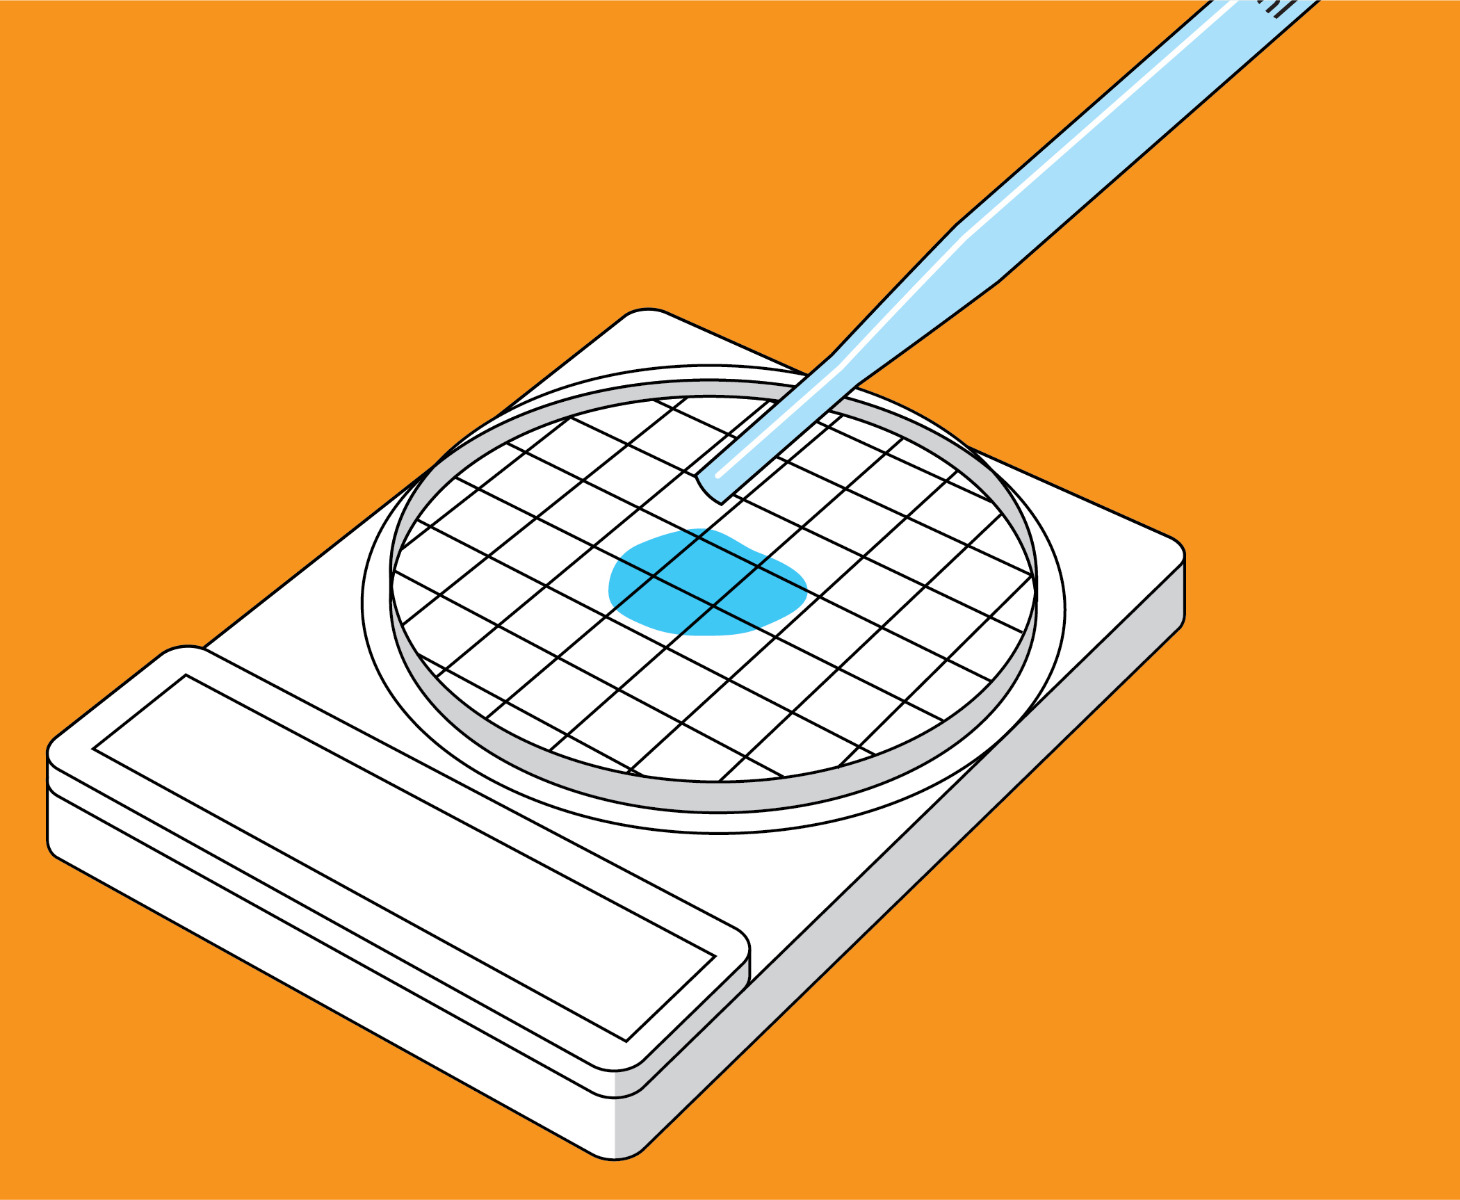
Simply lift the cover of one CompactDry™ and use a pipet to transfer 1mL of solution into the center of the plate.
Step 3
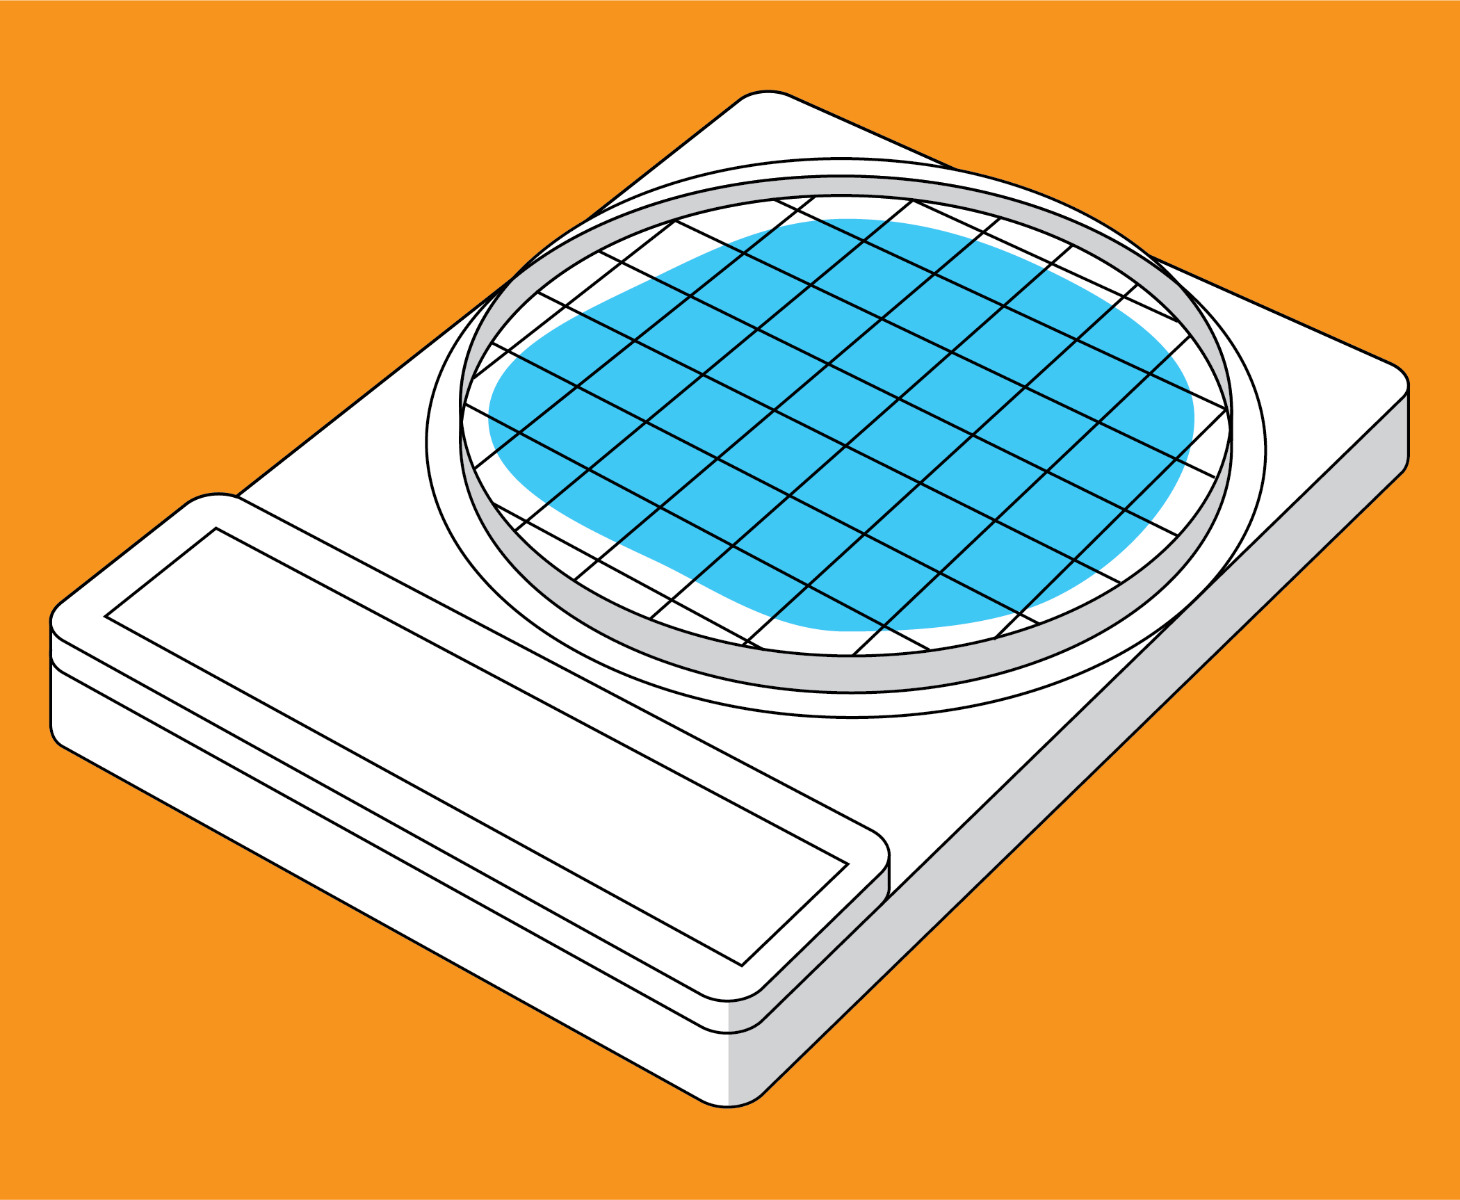
CompactDry™ plates do not require spreading or stamping. The specimen will diffuse automatically into the CompactDry™ plate, transforming the dry medium to gel. The space between the media and the cover lid allows colonies to form three dimensionally.
Step 4
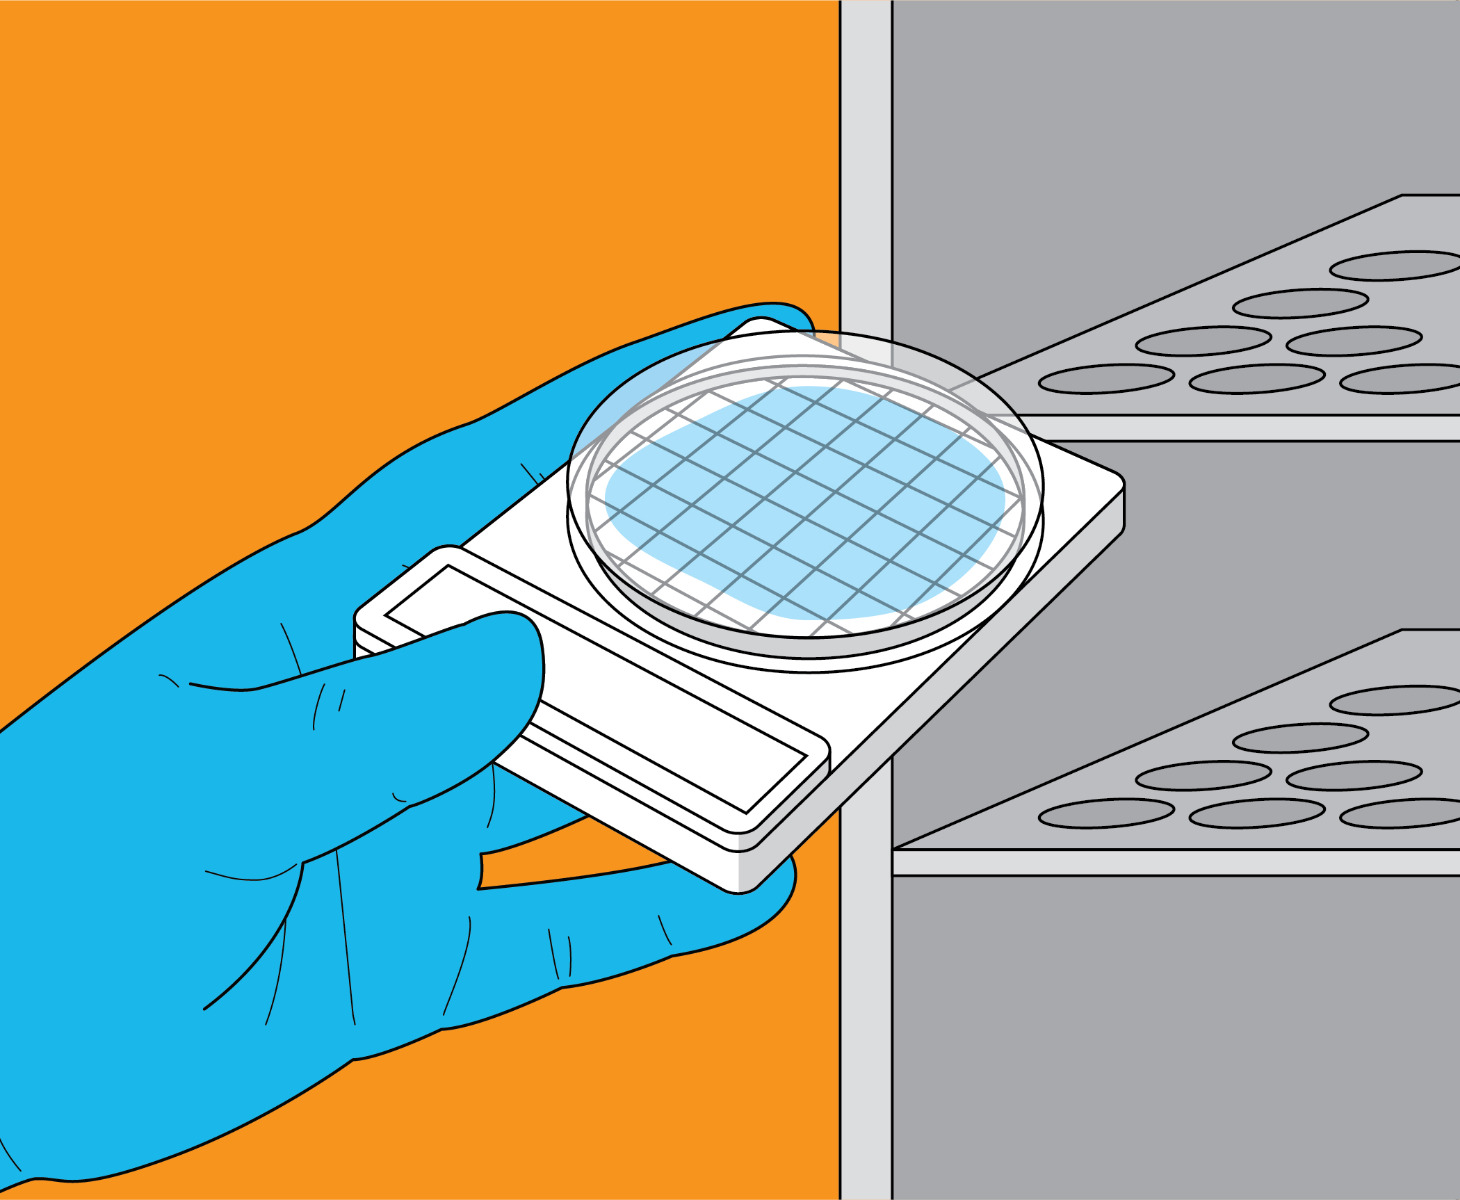
Re-cap the plate, and the tray is ready for incubation. The unique design of CompactDry™ plates allows unlimited stacking.
Final Step
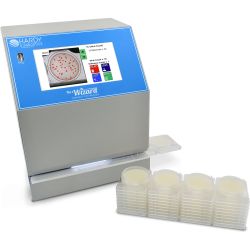
Count the colonies by hand or by using the Wizard™ automated colony counter. The Wizard™ is a standalone plate reader with LIMS connectivity for use with CompactDry™ plates.
You can see how the Wizard™ CompactDry™ Reader works in our video.

Step 1

Transfer the Petrifilm™ plates from the refrigerator to the workspace, and allow them to reach room temperature before use.
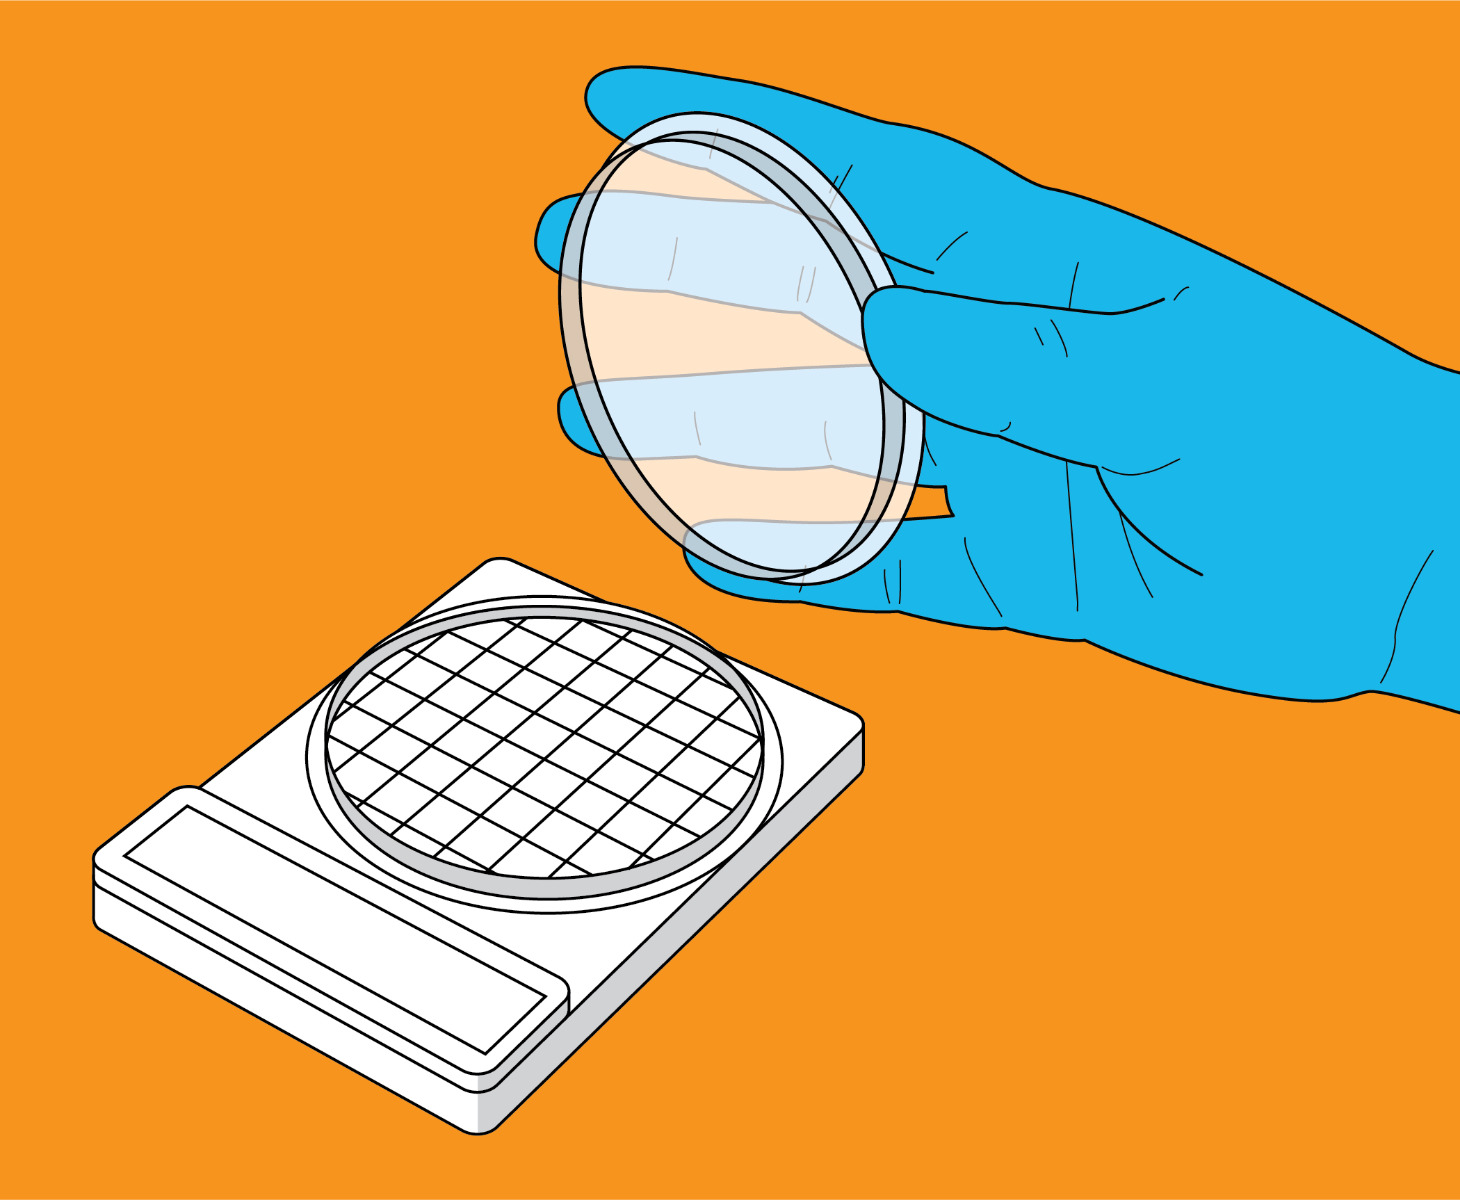
Place the 3M™ Petrifilm™ plate on a level surface, and carefully lift the top film.
Step 2
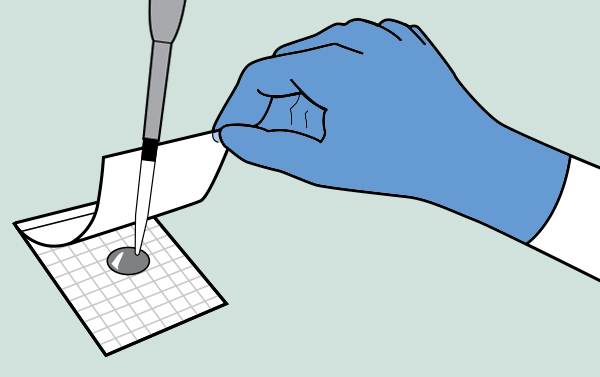
With a 3M™ Electronic Pipettor or equivalent, hold perpendicular to plate and place 1mL of sample onto the center of the bottom film.
Step 3
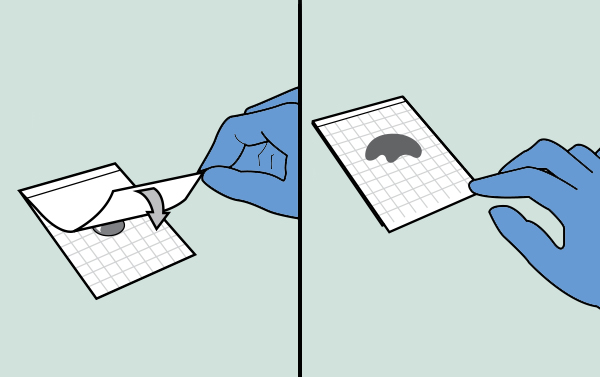
Roll the top film down onto the sample gently to prevent pushing the sample off the film and to avoid entrapping air bubbles. Do not let the top film drop.
Step 4
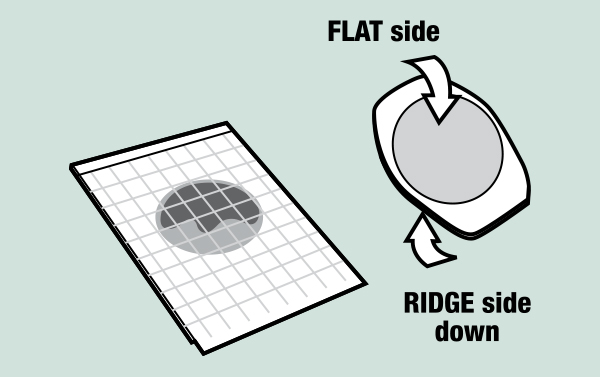
Use a Petrifilm™ spreader and gently apply pressure to distribute the inoculum over the circular area before the gel has formed.
Remove the spreader, and then wait a minimum of one minute for the gel to solidify.
Step 5
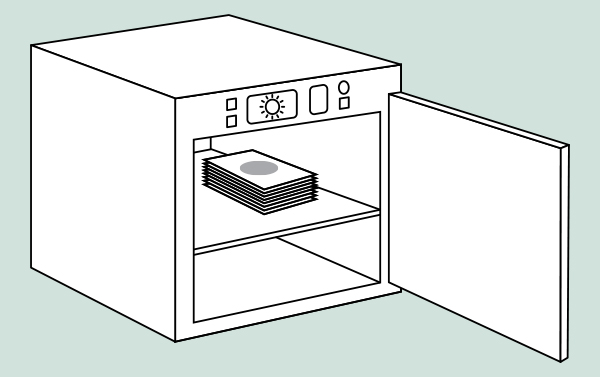
After the media has solidified, transfer to the incubator. Petrifilm™ can be layered on top of one another no higher than 20 plates in a stack.
Final Step
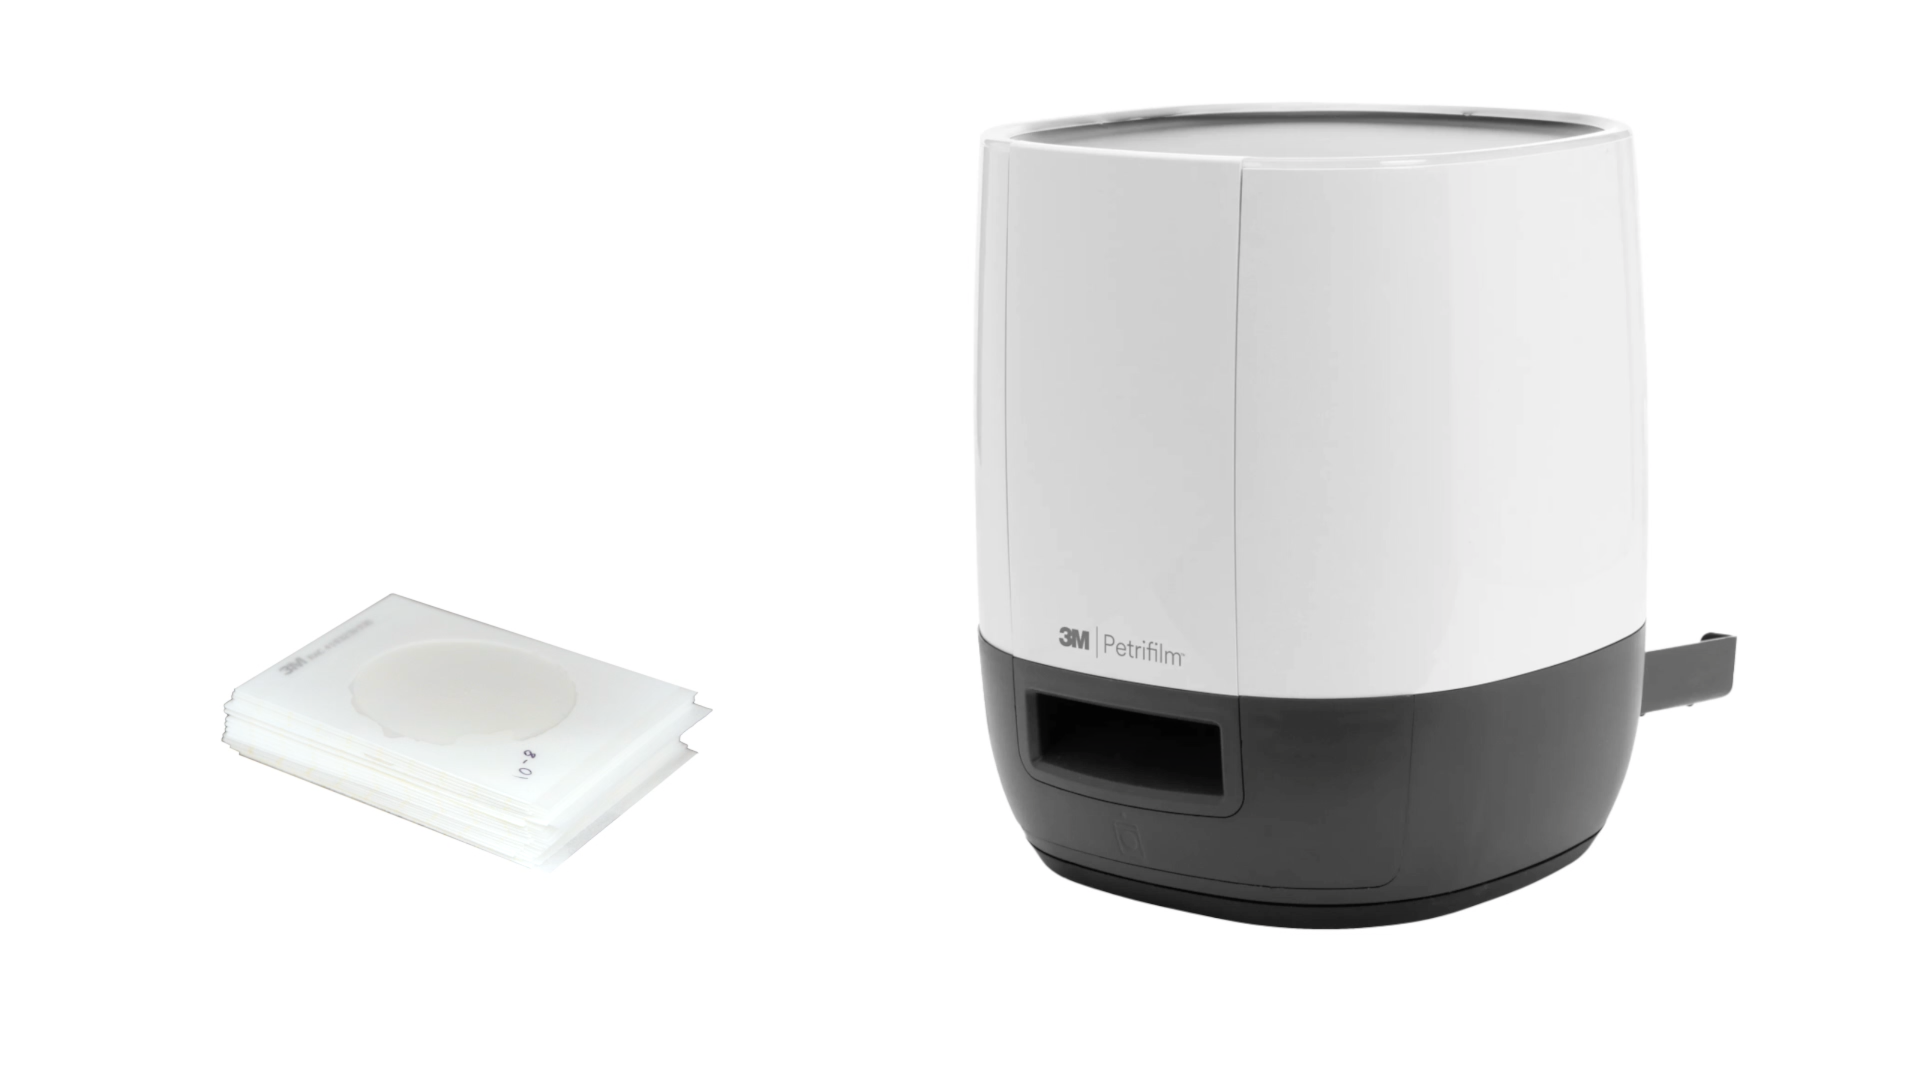
Petrifilm™ plates can be read by hand or by using a 3M™ Advanced Plate Reader connected to an external computer. Results are stored in the 3M™ Petrifilm™ Plate Manager Software and can be exported to a LIMS system. To use the Advanced plate reader, load each film one at a time through the Power Assisted Hand Feed. Results will display on the external computer.
Comparison Notes

Interested in learning more about learning more about Hardy Diagnostics' CompactDry™ catalog?
Watch our tutorial video below for more details or request a FREE sample of any of our CompactDry™ products to try in your lab!