How to Make a Batch of Prepared Culture Media Petri Plates
In the world of microbiology, preparing culture media Petri plates is a fundamental skill that every lab technician should master. Whether you're a seasoned professional or a novice in the field, understanding the process of making a batch of prepared culture media Petri plates is essential for ensuring accurate and reliable results in microbial testing.
In this comprehensive tutorial, we will walk you through the step-by-step process of preparing culture media Petri plates, covering everything from selecting the right media to sterilization techniques and plate pouring methods. By the end of this guide, you'll be equipped with the knowledge and confidence to create your own batches of culture media Petri plates with precision and efficiency.
Let's dive in!
You will need:
- Pyrex flask at least double the size of the batch
- Magentic stir Bar
- Aluminum foil
- Dehydrated culture media
- Distilled or deionized water
- Hot/Stir plate combo
- Weigh boat
- Autoclave
- Sterile Petri plates
- Infrared no-touch thermometer
- Lighter
Before you begin
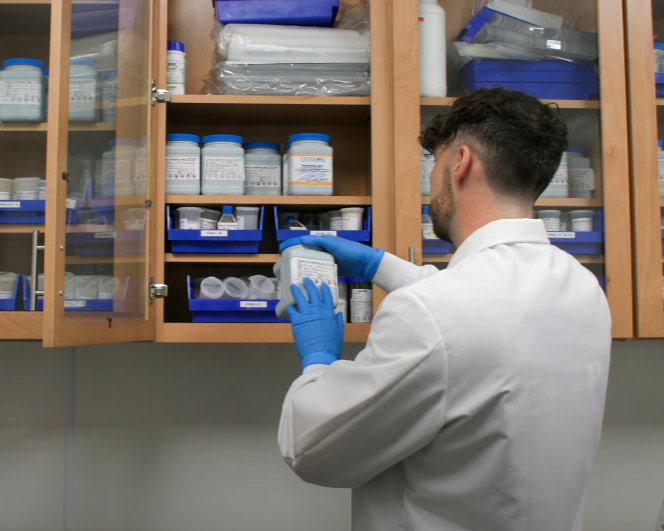
Be sure to use the oldest media first to keep your stock properly rotated.
Do not use outdated media. The powder should be free-flowing and not clumped or caked.
Dehydrated culture media is extremely hygroscopic, which means that it pulls in moisture from the air quickly. Be sure to close the lid immediately after opening it, and keep it tightly closed.
Step 1: Prepare ingredients
Start by weighing the appropriate amount of dehydrated culture media for your batch into the weigh boat to make one liter of MacConkey Agar, for example.
Select a flask that has a capacity that is 2 to 3 times larger than the volume you will be making. For example, if you are making 1 liter of media, then use a 2 or 3 liter flask.
Transfer the weighed dehydrated culture media into a clean flask, and then add a magnetic stir bar.
Add 1 liter of deionized water. Use the water to wash down the sides of the flask if some of the powder is clinging to the glass.
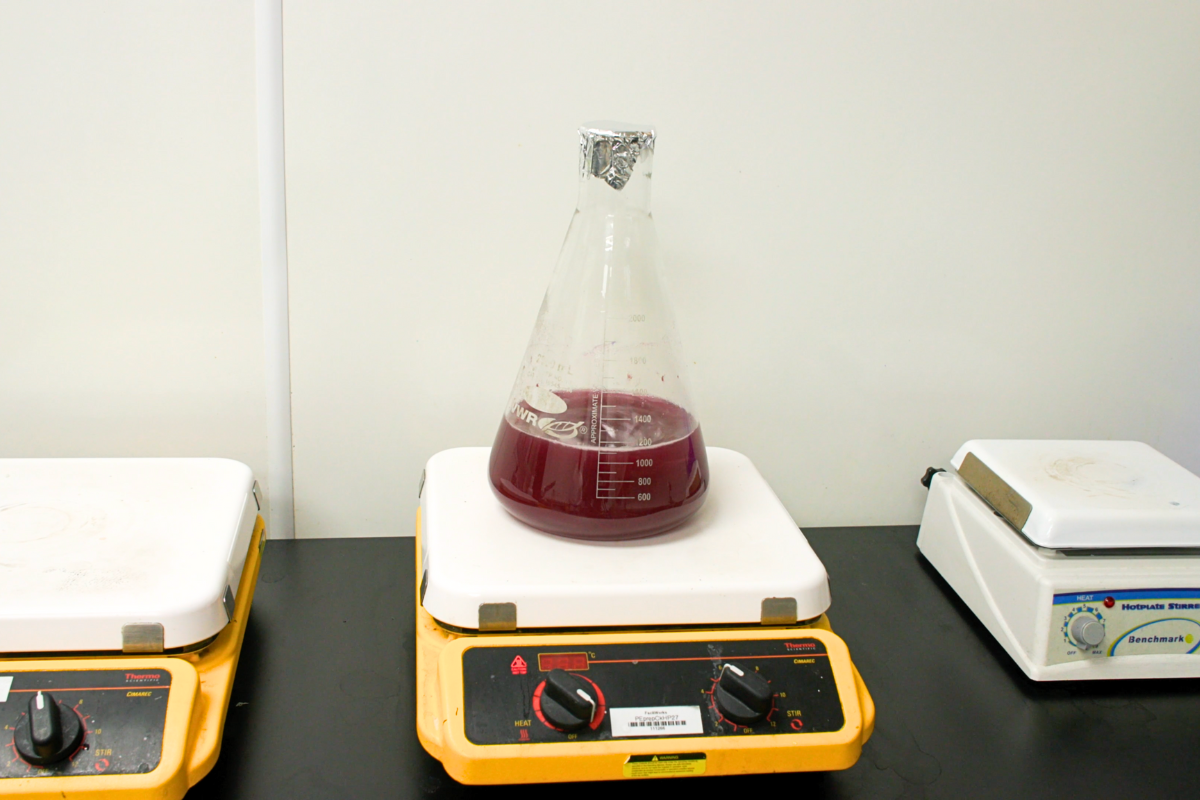
Step 2: Heat and mix
Place the flask on a hot plate/stirrer. Bring the media to a boil while stirring using the magnetic stir bar.
Be sure to mix and dissolve the media completely, so there are no clumps. Boil the media for no longer than one minute. Boiling for a longer period of time will turn the media dark and damage the nutritional properties of the media. We are boiling just long enough to melt the agar. Be sure to use heat resistant gloves when handling the hot flask to avoid burns.
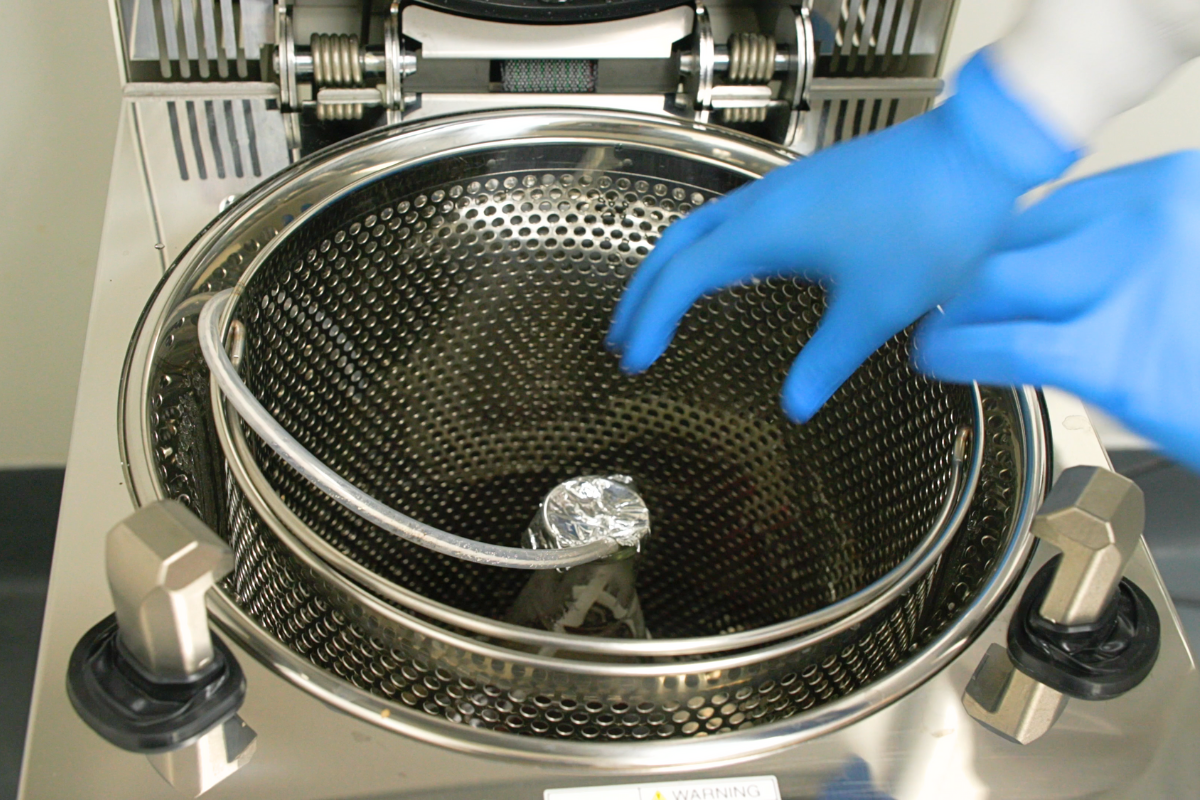
Step 3: Sterilize
Place the flask of boiled media in an autoclave to sterilize. If your autoclave is equipped with a temperature probe, the temperature probe can be placed directly into the media and the cycle parameters will be based on the readings of the probe.
Set the autoclave to 121° Celsius for 15 minutes. Avoid overheating.
If you are sterilizing larger quantities of media you may need to increase the time of the heating process.
If you are sterilizing media that contains heat sensitive ingredients you may need to reduce the time or temperature of sterilization. This is why validation studies may be needed.
Step 4: Cool and stir
When the cycle has finished, wait for the autoclave pressure to reach zero. Opening the door before the pressure has reached zero can be dangerous and can lead to spontaneous boiling of the media. If using a temperature probe, you should also wait until the temperature has reached at least 90° Celsius or below to avoid the media boiling over. Do not leave the media in the autoclave for extended periods of time, so as not to over heat the media.
Remove the flask from the autoclave, and place on a stir plate without heat.
Be sure to wear gloves that cover your wrists as well as your hands when handling the flask.
Stir mildly while cooling so as to not create bubbles.
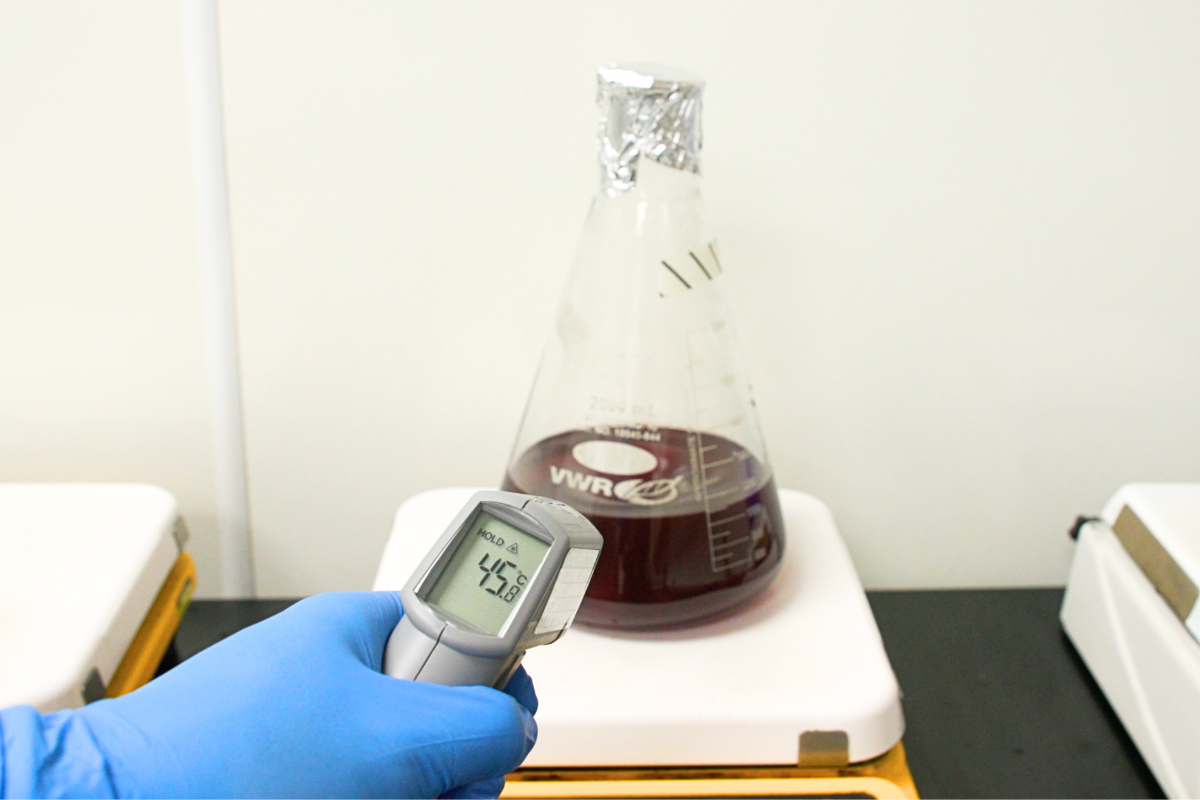
Cool the media to 45-50° Celsius. You can check the temperature with an infrared no-touch thermometer.
Note: If your media formulation calls for the addition of supplements, add them aseptically now. Ensure the supplement was filter sterilized through a 0.2 micron filter before adding it to the flask. Make sure the supplements are first warmed to about 30° Celsius before you add them, otherwise chipping of the agar can occur.
Step 5: Dispense into Petri plates
Aseptically dispense approximately 20ml of media into sterile Petri plates. Ideally, do this in front of a HEPA filtered clean bench. If one is not available, do the pouring in a room with minimal air currents in order to avoid contamination.
If excessive condensation is a problem, then cock the lids to the side to allow the water vapor to escape.
Be sure to pour slowly as to not create bubbles. If bubbles do occur, then they can be popped with a flame from a lighter.
Allow the plates to cool so that the agar will set up solid. This should take no more than one hour.
If the plates will not be used immediately, store the plates upside down to avoid moisture from condensing on the agar's surface. This way, if there is any condensation, it will form on the lid.
Final Notes
Keep plates in a plastic bag until you are ready to use them. This will prevent moisture loss.
Store the plates in the refrigerator at 2 to 8° Celsius. Never freeze the media.
The plates must be stored in the dark, since light can be damaging to the ingredients.
As a sterility check, you can incubate several plates at 35° Celsius to make sure there are no contaminants. Check them daily for at least three days.
Most media plates have a shelf life of up to three months when stored properly, but it depends on the type of media. Validation studies must be performed.
When washing your glassware, be sure that all detergent and soap residues have been thoroughly rinsed off. Rinse with deionized water since any detergent residue could inhibit the growth of bacteria in future batches.
Hardy Diagnostics manufactures a complete line of dehydrated culture media:


Video Tutorial
Authors
Video created by Brian Tom
Videographer
Article written by Cierra Benavidez
Digital Marketing Lead