How to Properly Streak a Petri Plate - [2023]

Are you struggling to properly streak a Petri plate? Then you've come to right place.
In this blog, we will thoroughly describe a method called, the Four Quadrant Streak. While there are other techniques, this particular method ensures proper isolation of a colony from a larger sample. The purpose of the four quadrant method is to reduce the number of colonies from an area of high concentration from the original sample to an area of low concentration in the final streak.
The four quadrant method uses a series of loop passes over the agar. By the final streak, the number of cells on the loop should be diluted and low enough that single colonies are dispersed and isolated on the agar surface. A microbiologist's job is to isolate the target microorganism from a sample or specimen that often contains other microorganisms. Properly isolating a colony is crucial, as this provides critical information when identifying bacteria and fungi thus diagnosing and treating patients.
Medical labs count on manufacturers, such as ourselves, to provide top-performing and trustworthy culture media so they can concentrate on proper identification. This blog post will walk you through each step of the Four Quadrant Streak method for streaking a Petri plate. You can breathe easy knowing that the method described here is a tried and true procedure that will help you in successfully isolating colonies for identification.
First, we will discuss the invention and history of the Petri plate, but feel free to skip ahead using the Table of Contents below.
Table of Contents
How to properly streak a Petri plate
Clean, disinfect, and organize
What is a Petri Plate?
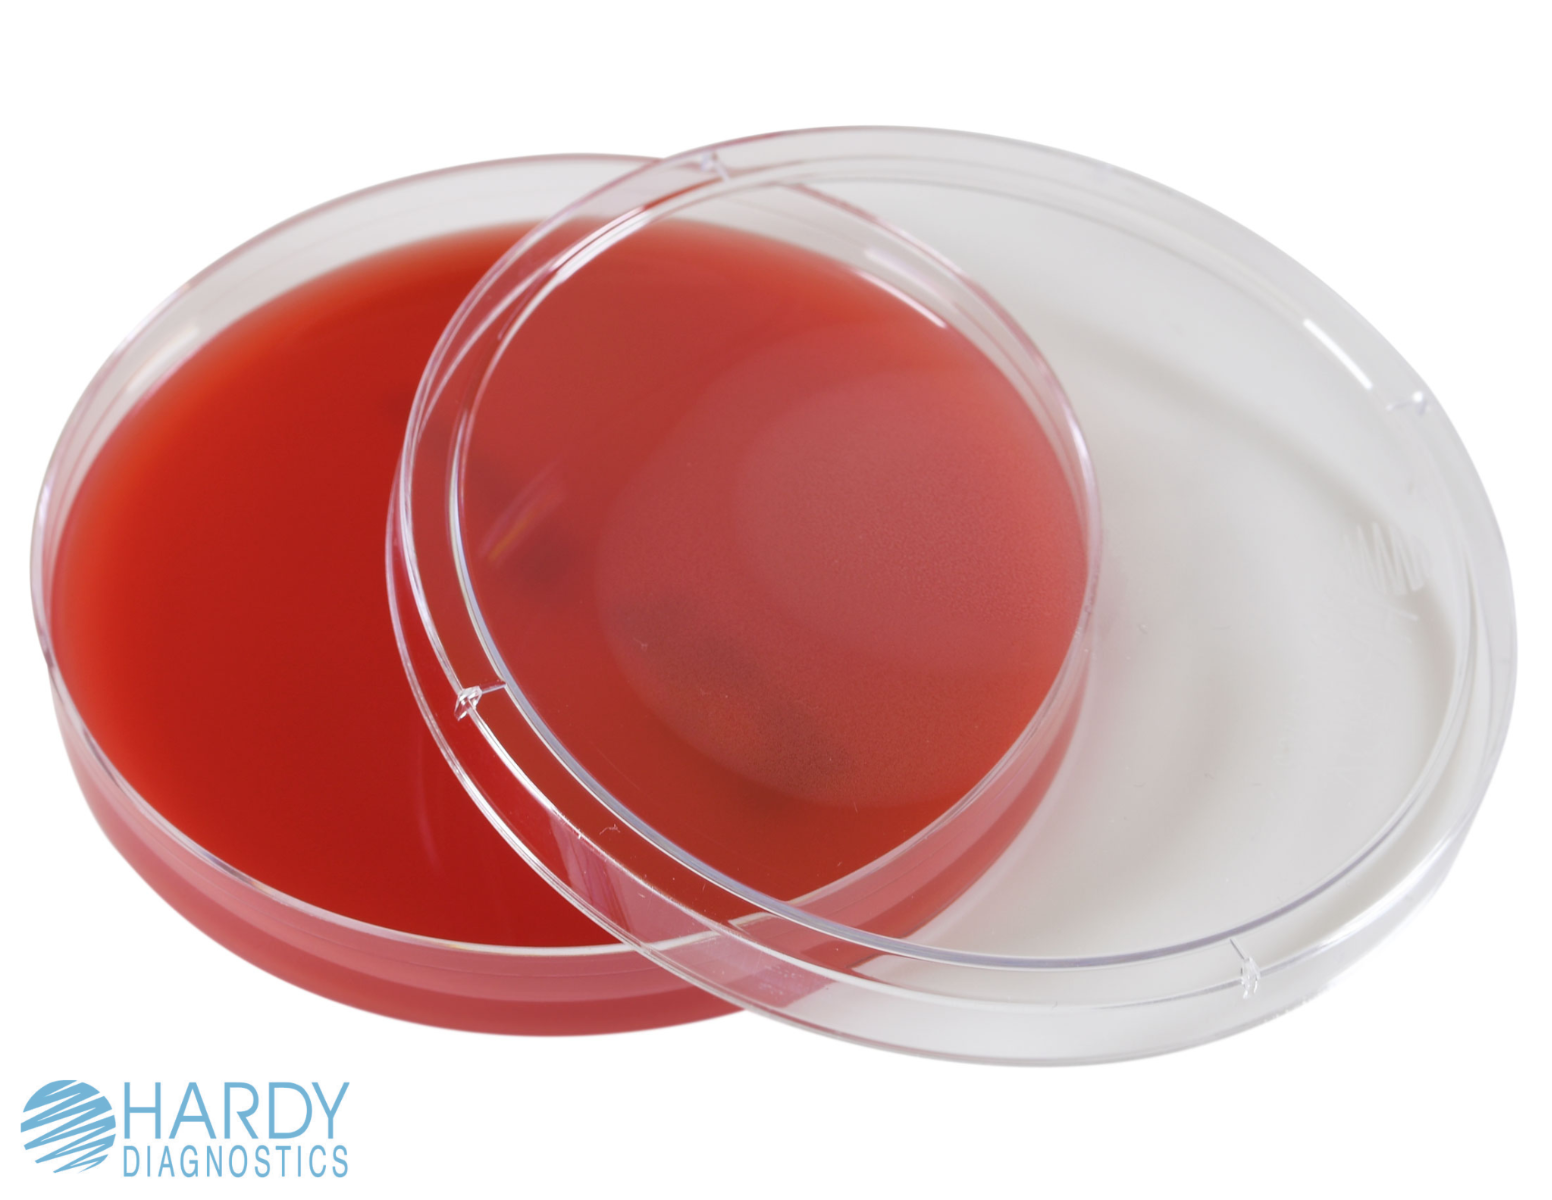
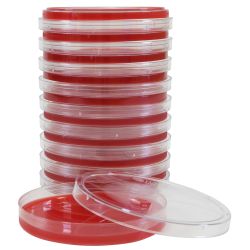
A Petri plate, also dubbed a Petri dish or cell-culture dish, is a petite and shallow transparent plate often made from glass or plastic and contains a loosely fitted lid.
The purpose of the loose fitting lid is to ensure that contaminants do not come into contact with the agar, as well as to ensure that the microorganisms receive the proper ventilation and atmospheric conditions within the culture plate. Petri plates are used to hold the agar and allow the culture to form, or grow, which will then reveal the targeted isolated CFU (colony forming unit). The culture medium with agar (seen above) is essentially 'food' for the microorganism. Just like most organisms, microorganisms also need an adequate amount of nutrients to survive and thrive.
There are many different types of media including blood, chocolate, and MacConkey agar just to name a few. When a specimen is inoculated (or introduced) into the agar inside the Petri plate, it is then incubated at approximately body temperature to maximize growth potential.
Who Invented the Petri Plate?
The Petri plate was invented in 1887 by German bacteriologist, Julius Richard Petri, or at least the one that we use today. There has been speculation as to who truly invented the Petri plate. Rumors have spread for years stating that Robert Koch is the true inventor. That rumor is not entirely wrong however.
According to PubMed Central, "The Petri dish is named after the German inventor and bacteriologist Julius Richard Petri (1852–1921). In 1887, as an assistant to fellow German physician and pioneering microbiologist Robert Koch (1843–1910), Petri published a paper titled “A minor modification of the plating technique of Koch.” This seemingly modest improvement (a slightly larger glass lid), Petri explained, reduced contamination from airborne germs in comparison with Koch’s bell jar."
How to Properly Streak a Petri Plate
A couple of things to note before we begin...
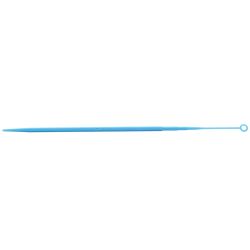
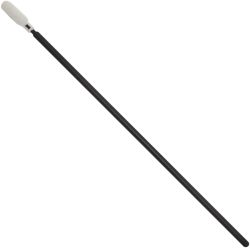
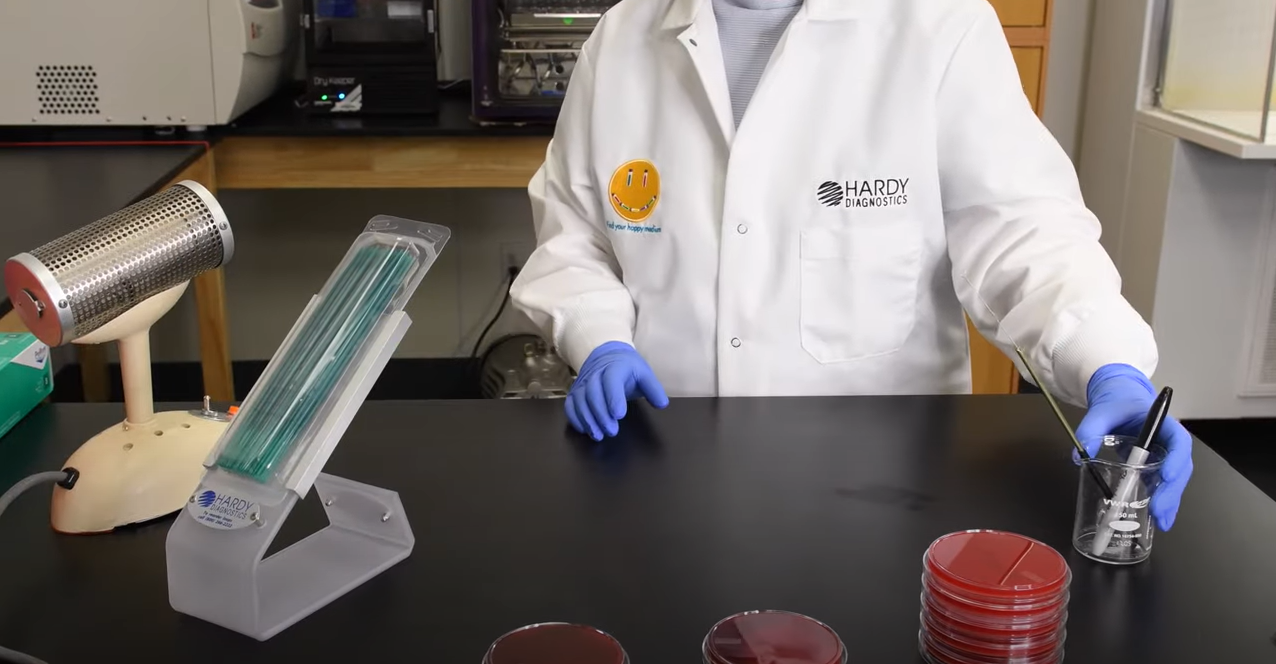
When streaking a plate, three different tools can be used: a non-sterile metal loop, a pre-sterilized disposable plastic loop, or a specimen swab (for initial depositing of the specimen/sample).
Loops come in differest seizes with calibrated volumes. This helps a microbiologisy determine the number of cells per milliliter in a liquid sample. Generally, loops are calibrated to deliver 10 microliters or 1 microliter. A microliter is one millionth of a liter.
Agar has a Jell-O like consistency. When inoculating the agar plates, make sure to streak the surface gently to avoid cutting, tearing, or stabbing the agar with the loop.
Lastily, individual microbial cells are not visible to the naked eye. Avoid over-inoculating the Petri plate.
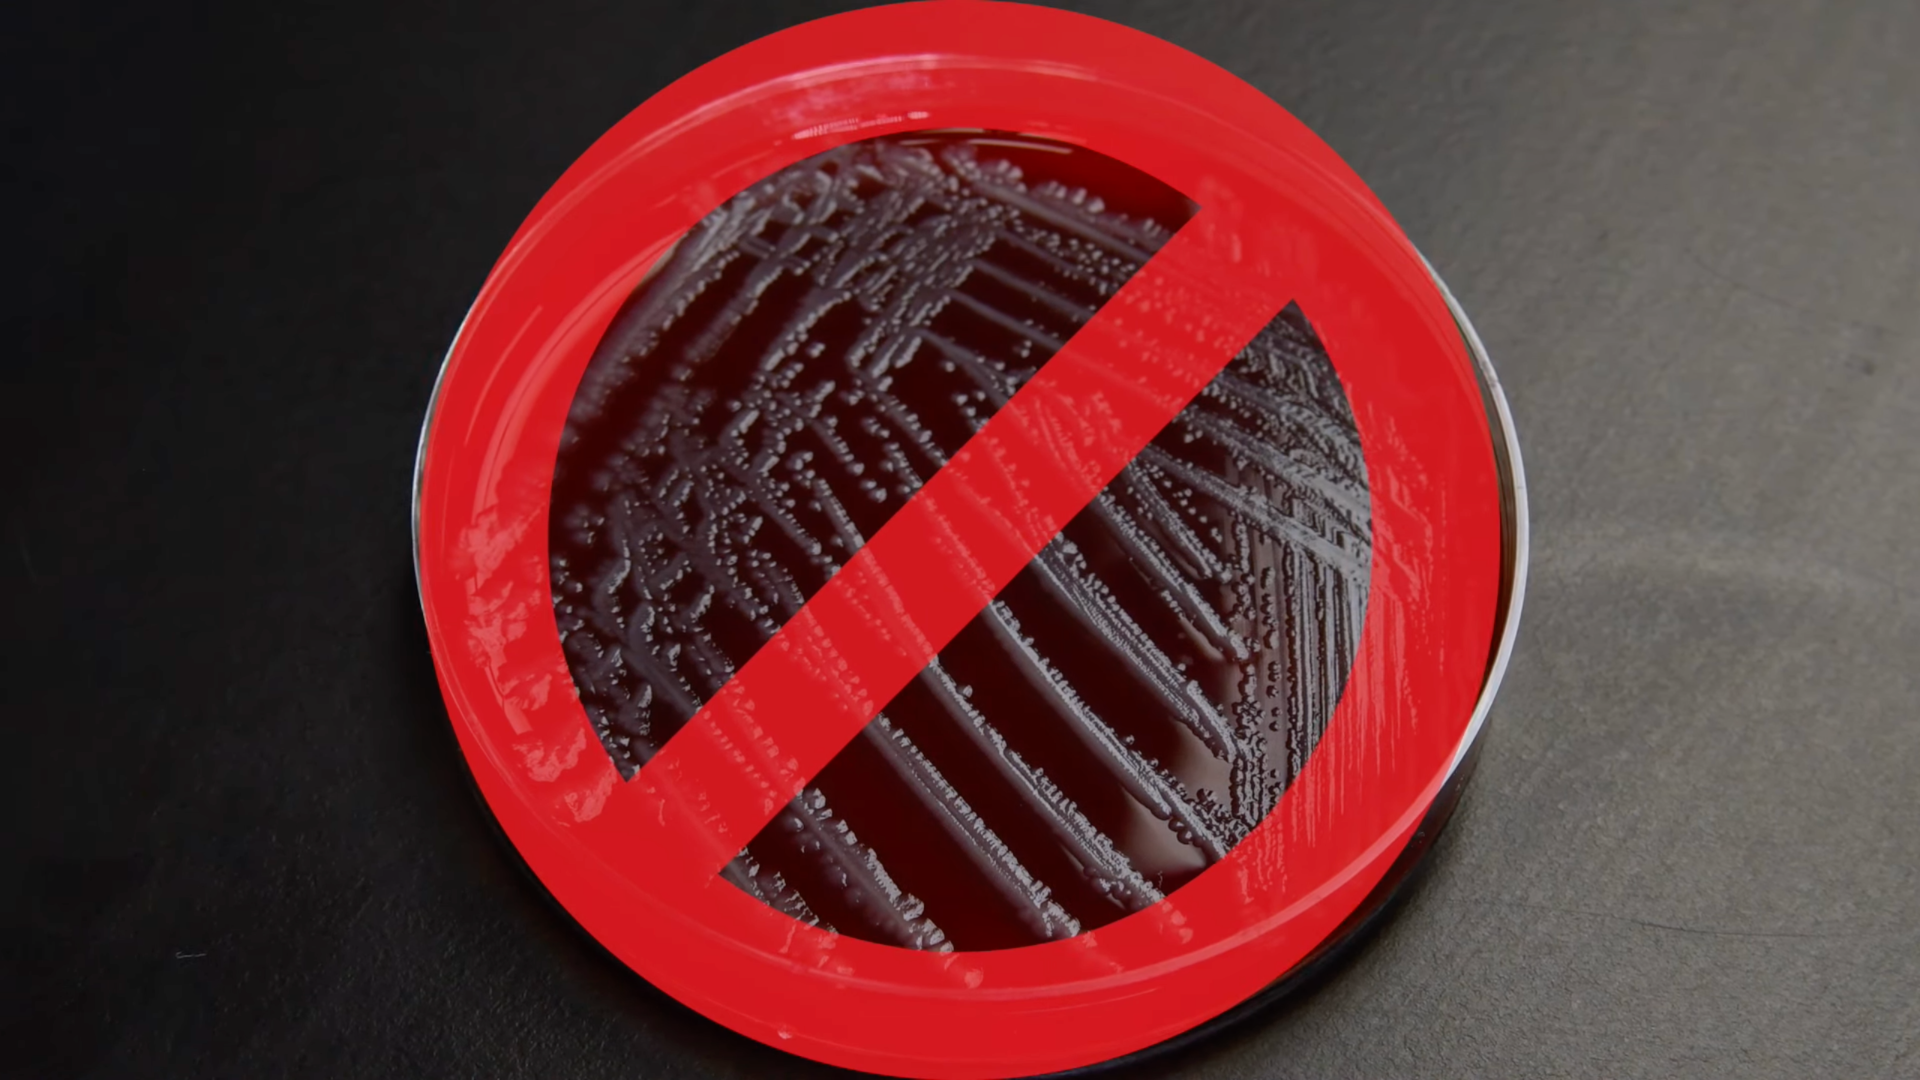
This is a common mistake that will cause the plate to be overloaded with colonies and will result in a confluence, or merging, of growth making it difficult to isolate the targeted microbe.
Note how the streak lines consistently overlap with the previous streak lines. Not good.
Clean, Disinfect, and Organize
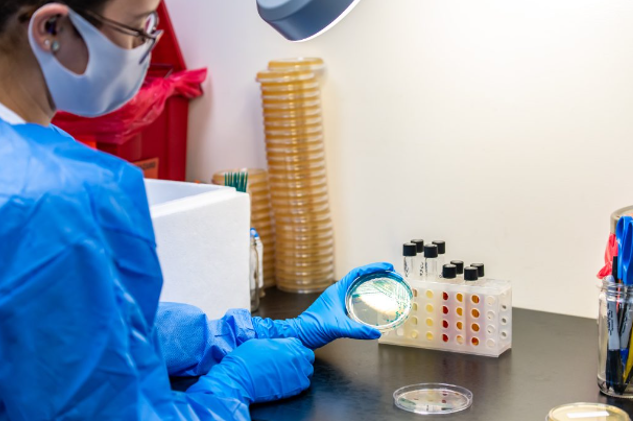
In order to prepare, it is important to clean, disinfect, and organize the area where you will be performing the four quadrant streak.
A Petri plate can be become easily contaminated. Always make sure you are following your labs cleaning protocols and good hand hygiene, as well as aseptic technique. Make sure all of your tools such as loops and labeling pens are within easy reach. Wear proper PPE and ensure clothing is tight-fitted around open flames and sterilizing equipment such as a Bunsen burner or incinerator.
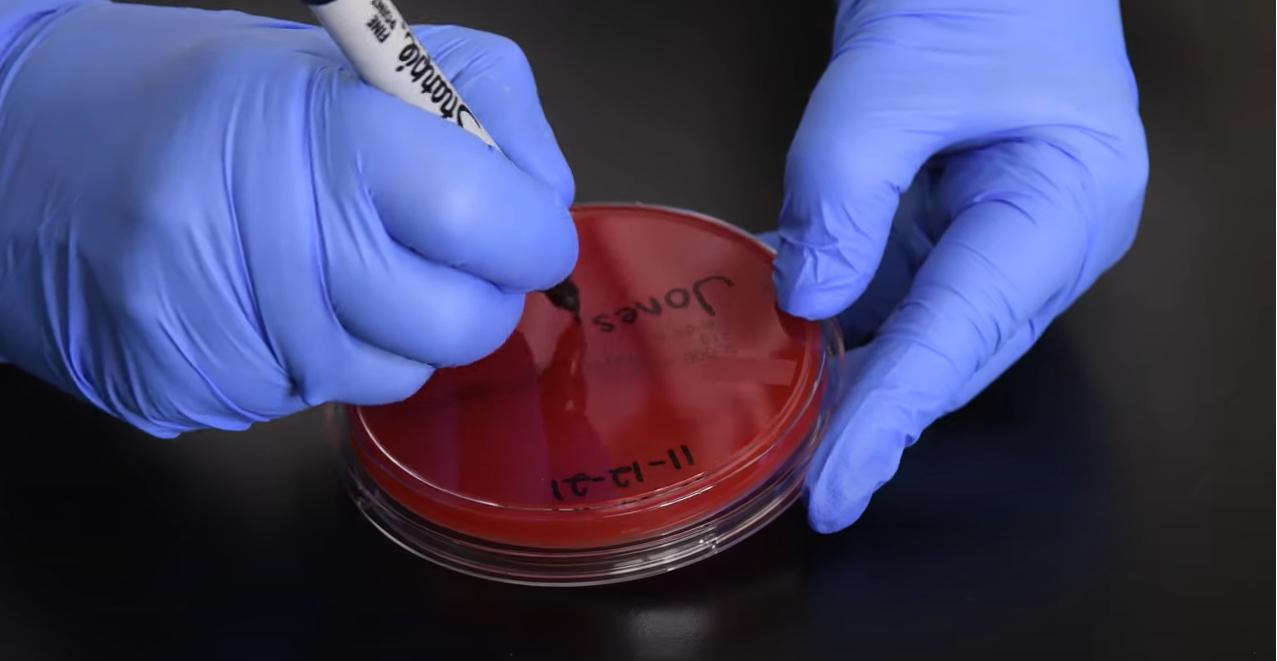
Always label on the bottom of plates prior to use. Do not label the lid. This is essential to identify the sample after incubation, and to ensure the plate can be identified in the event the lid is lost, dropped, or accidentally switched to another plate.
Sterilize the Loop
To sterilize a metal loop, begin by flaming or incinerating the loop. Once the loop glows red hot let the loop cool in ambient air.
Always make sure to cool the loop before streaking. Do NOT blow on or wave the loop to speed up the cooling process.
However, you can cool the hot loop by touching it to a sterile area of the agar within the Petri plate.
NOTE: This step can be skipped if using disposable loops or specimen swabs.
Collecting the Cells
Make sure to collect the smallest amount of cells, touching the loop carefully and steadily to confluent growth or an already isolated colony. If using a liquid sample, also be sure to grab a small amount.
This will ensure that the plate you are streaking will not be over grown.
Streaking Quadrant #1
Once the sample has been obtained on the loop, use your free hand to pick up the plate (Petri plate should be face down when picking up, leaving the lid on the bench).
Deposit the sample in the 1st quadrant region by streaking a small vertical line.
Then, using a sweeping motion streak from side to side within quadrant 1 over the small line of deposited sample.
Quadrant 1 should be approximately a quarter of the agar's surface.
Keep streaking lines tight and close together.
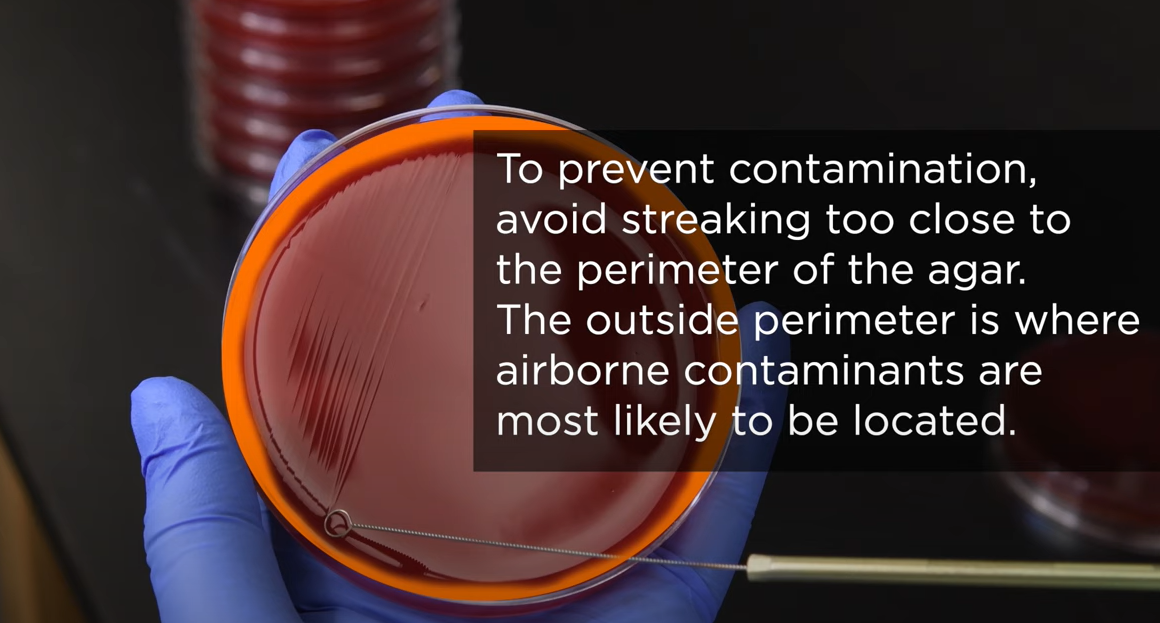
Contamination is more likely to occur around the perimeter of the agar. This is because airborne contaminants can settle in this area. Avoid streaking too close to the edge of the Petri plate.
Streaking Quadrant #2
If using a metal loop, remember to sterilize between each quadrant.
Repeat the steps from the section titled Sterilize the Loop.
Rotate the Petri plate 90 degrees.
Using the same sweeping motion, use the loop to streak into quadrant 1's streak lines, overlapping no more than two to three times.
Continue to streak through quadrant 2, taking up another quarter of the agar.
NOTE: If a specimen swab was used for quadrant 1, then switch to a metal or disposable loop for quadrants 2, 3, and 4.
Streaking Quadrant #3
Sterilize and cool the loop.
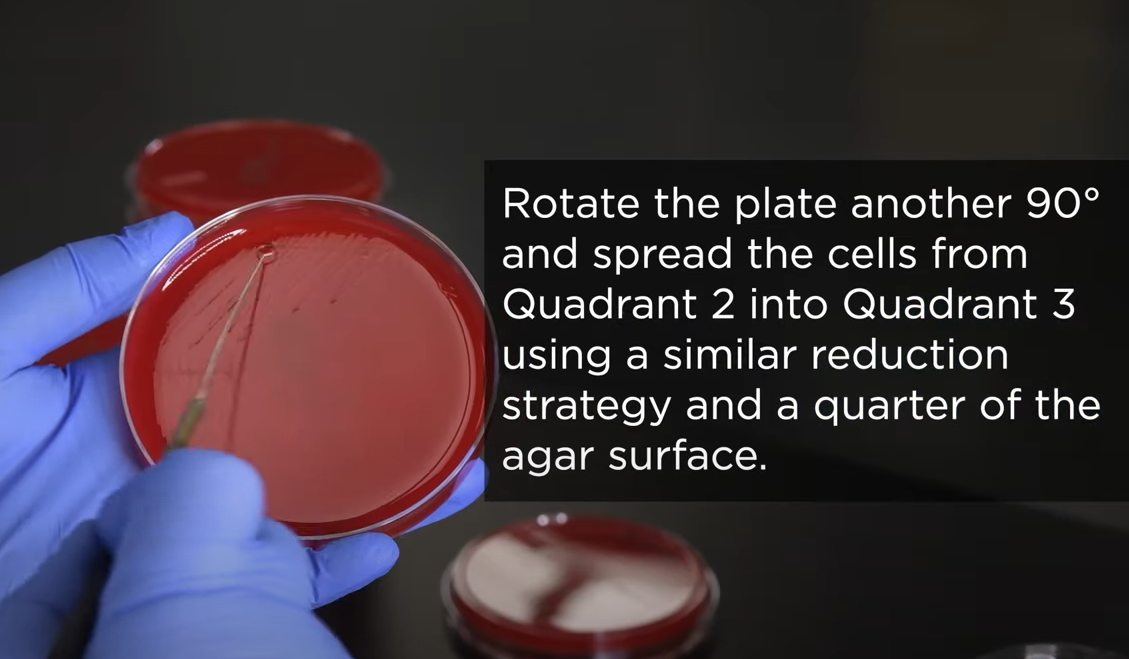
Rotate the Petri plate another 90 degrees.
Streak the cells from quadrant 2 into quadrant 3.
Again, passing through quadrant 2's streak lines no more than two to three times.
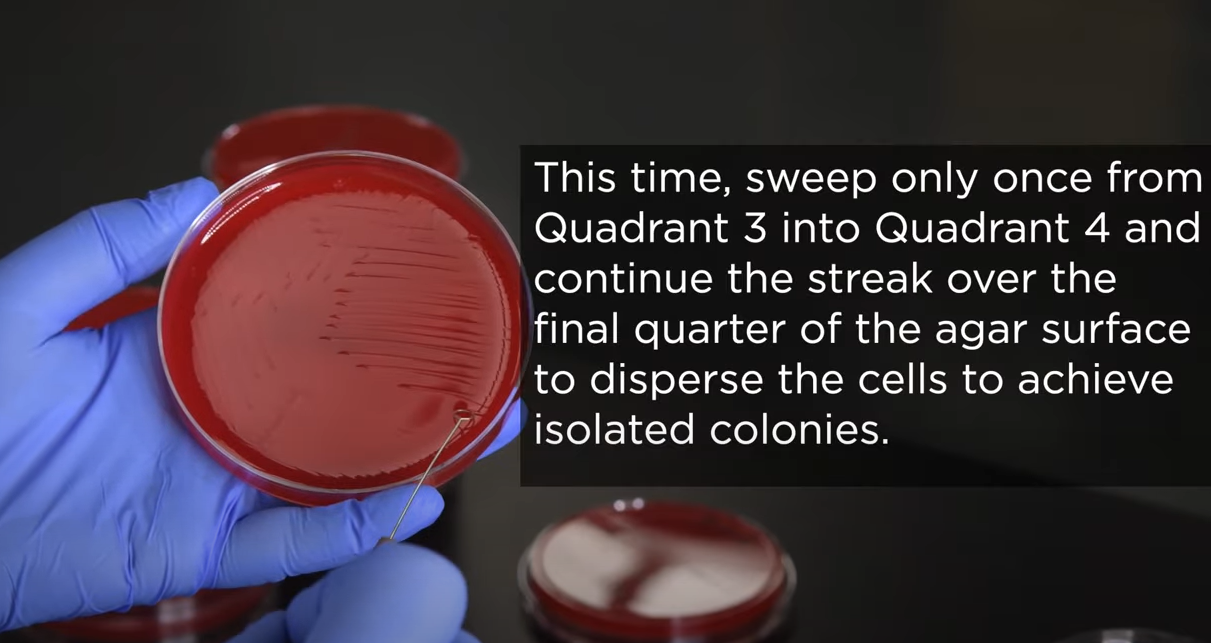
Streaking Quadrant #4
Finally, rotate the Petri plate another 90 degrees.
This time, using the same sweeping motion, pass through quadrant 3's streak lines only once and no more.
Continue to streak over the final quarter of the agar surface to disperse the cells and achieve isolated colonies.
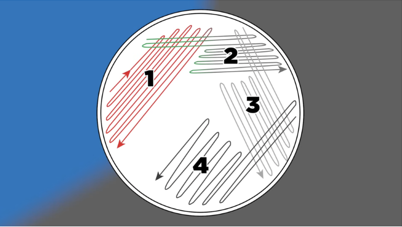
Your final streaking pattern will look like this:
Once completed, set the plate back down onto the Petri plate lid and place the plate in the incubator.
The plates should be placed media side up, meaning media on the top and the lid on the bottom. Incubating with the media on top will prevent water condensation from pooling into the culture.
Water pooling into the culture could lead to contamination and prevent isolated colonies from forming.
Other Things You Should Know
A great alternative to a metal loop is a plastic loop. Plastic loops are pre-sterilized, convenient, and not to mention save time. Furthermore, they are a great replacement if you do not have access to a Bunsen burner or incinerator, or if it is not feasible to have either at your work station.
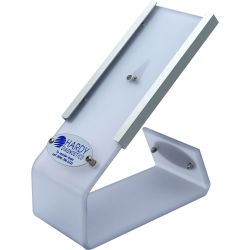
As mentioned before, there is no need to sterilize between quadrants. Instead, simply flip the loop over to the clean side when streaking from quadrant 1 to quadrant 2. Hardy Diagnostics provides many different types of pre-sterilized plastic loops, as well as an easy to use LoopCaddy. We also provide many different types of culture media for all of your Petri plate streaking needs which can be found here.
Conclusions & Advice
To summarize, the four quadrant streak method is used to isolate a targeted microbe, which in some cases is needed in order to perform Gram staining, a procedure that differentiates between gram-negative (pink or red) and gram-positive bacteria (blue or violet). It's important to realize that each quadrant is meant to reduce the number of cells.
To put it simply, each sequential quadrant should pull less and less cells from the previous quadrant. Remember to prep and disinfect your work station efficiently, wear proper PPE, and relax.
You've got this! Have questions, concerns, or comments? Please leave a comment below. We are here to support and guide you on your journey to perfecting the four quadrant streak!